|
|
3D Vacuum Heat Press ST3042 | |||
|
|
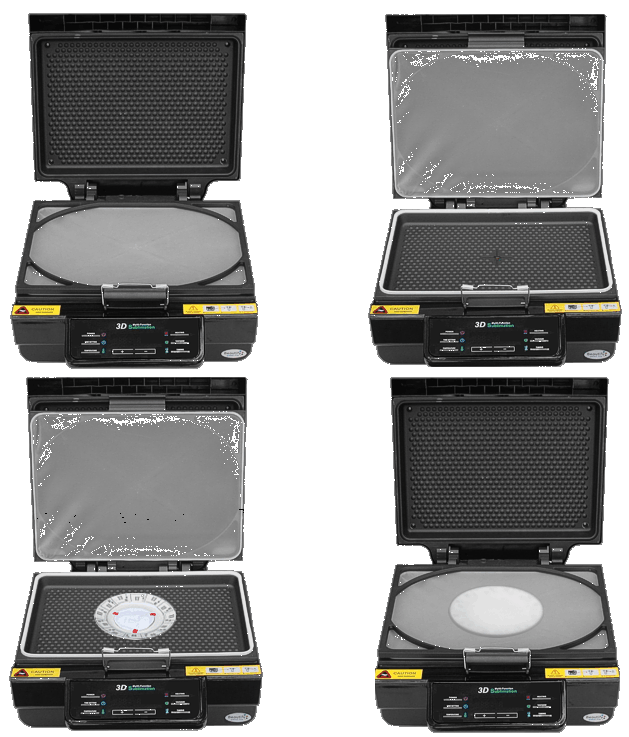
The 3D Vacuum Heat Press is in fact desktop furnace (oven) with front touch keyboard on which you can set temperature / time, the same way as on your home appliances. You can put inside for example dog´s / cat´s bowl ( generally photo ceramics of bigger size ) or a thermos, where the image is fixed to ceramics individually with silicone wrap or heat shrink bag, as you can see on the pictures below. Moreover, the 3D Press has inner removable vacuum unit to which you can put photo plate or stone slab. If you press button VACUUM, small compressor starts to suck the air from vacuum unit and the upper silicone membrane presses on the enire surface of the image fixed to plate during whole tome of the heating.
A characteristic feature of the 3D press is that it allows the printed image
to be pressed evenly onto shaped objects - you can print the surface of a
plate (uneven bottom), sublimation stone, double-sided polymer plate, puzzle,
etc. |
 |
||
|
e-shop |
||||
|
Liberek spol. s r.o. - Liberek spol. s r.o. - Liberek spol. s r.o. - Liberek spol. s r.o - Liberek spol. s r.o. - Liberek spol. s r.o. - Liberek spol. s r.o -- Liberek spol. s r.o. - Liberek spol. s r.o. - Liberek |
||||
| Specific features | ||||
|
|
||||
|
Workflow with vacuum unit |
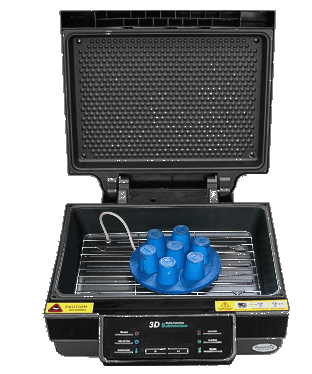
3D printing procedure using vacuum unit 1 Print a mirror image on sublimation paper (e.g. Ricoh, Epson printer) - you must use special sublimation ink ! 2 Stick the picture on the plate with 2 pieces of self-adhesive ( heat-resistant ) fixing tape 3 Turn on the press (on the left side) with the main switch. Press (in the middle of the button) the POWER button on the front keyboard Press the TEMPERATURE button on the front keyboard use + / - to set (according to the type of item, the values are listed in the e-shop for each item) e.g. 195 C Press the TIME SETTING button on the front keyboard use + / - to set e.g. 10 minutes 4 Press the HEATING button twice (lower and upper heating), wait until the press heats up to the set temperature, which is indicated by an acoustic signal Warning: if you set the temperature to e.g. 180C, the press always shows approx. 10C more, AND IN ADDITION THE TEMPERATURE FLUCTUATES DURING PRINTING, it's not a bug! 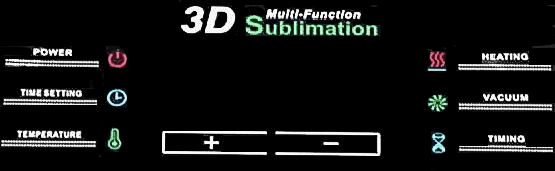
After reaching the set
temperature ( put on gloves - they are part of the delivery of the press ) : |
|||
|
|
||||
|
Workflow
without a vacuum unit |
Workflow without the use of a vacuum unit / mug printing Remove the vacuum unit from the press ( disconnect the hose to the compressor ) and place the mug on the wire grid (lying down), where the image is only fixed with a silicone wrap, see picture :  Subsequently, you do everything exactly as described in the previous chapter, only you do not use the VACUUM button. WE RECOMMEND / TIPS : * Setting temperatures / times Mugs (depending on the type of coating and at the same time the number of mugs you put in the press) set the temperature to 195C (top + bottom heating) and time 10 min for one mug, up to 14 min for multiple mugs. Similarly 195C / 11 min up to (according to the number and size of the object) ... for sublimation stones For each item in the e-shop, we gradually specify the temperature / time settings for both the BJ900 press and the 3D / ST3042 Silicone wraps, shrink bags we offer : SILICONE WRAPS HEAT SHRINK BAGS |
|||
|
|
||||
|
|
Specific silicon sleeves - vacuum units
|
|||
|
|
||||
|
Side view 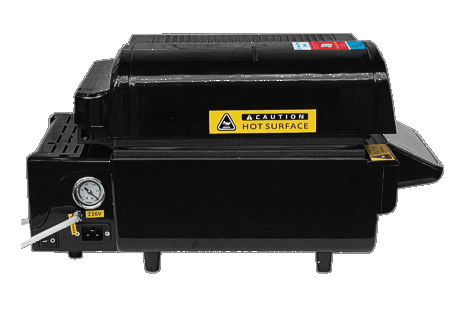 |
||||
|
|
||||
Rear view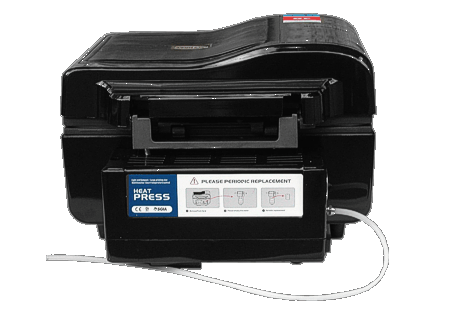 |
||||
|
|
||||
|
Advantages x disadvantages |
Classic Mug press x 3D Press CLASSICAL PRESS + Printing individual ceramics (mug) on a classic press is about 3-4x faster + When the ceramic is heated, the handle of the mug remains cool, i.e. you do not need protective gloves during the entire printing process + The press is smaller / lighter / more responsive - more convenient for working outdoors + Electricity consumption of Classical Mug Press is significantly lower than the power required for infrared heating in a 3D oven + The classic press has a simpler design 3D PRESS + Silicone wraps allow the mug to be printed right up to the handle, which is difficult to achieve with a classic press because the temperature at the edge of the heating pad is always a little lower than the middle + Print multiple mugs at once + 3D printing of plastic phone/tablet covers + Easier printing of plates, which often have a slightly concave (convex) bottom, possibility of full-surface printing of the entire plate + Easier printing of conical liquor glasses thanks to the 7-fold silicone sleeve for 3D + Safer printing of fragile products ( glass ), when uniform radiant heating does not cause such internal stress ( potential possibility of cracking ), such as e.g. a double-walled beer glass + Safer printing of sublimation stones + Double-sided printing of polymer products + All-over printing of thermoses, thermos mugs and other products in shrink film In our
opinion, a 3D press is (
currently!
) needed wherever you want to
print : |
|||
| Technical specifications | ||||
|
|
||||
| Functions | Digital setting of temperature and time, activation of heating and vacuum | |||
| Operat. conditions | Temperature 5 to + 400 C | |||
| Power requirements | 220V, 50Hz, 2800 W | |||
| Heating | Infra / resistance spiral | |||
| Dimensions (WxHxD) | 470 x 590 x 280 mm | |||
| Weight | 17 kg ( Box 20 kg ) | |||
| Color | Black | |||
| Accessories | Mains cord, gloves, replacement silicone membrane and sealing sleeve, tubing, silicone wrap 11oz, silicone wrap 15oz, instructions | |||
| Certification | CE certificate | |||
| 3 D Press | eshop Vacuum Heat Press ST-3042 | |||
| Options : | ||||
| 3D tools | eshop 3D tools for printing | |||
| 3D silicone wraps | eshop 3D silicone wraps | |||
| Heat shrink bags | eshop heat shrink bags | |||
| Spare parts : | ||||
| Stock spare parts | eshop spare parts 3D / ST3042 | |||